Real mold remediation is about removing mold under containment, not spraying it. Here is every step a proper job follows, how long it takes, and the shortcuts that should make you nervous.
Professional mold remediation follows a set order: find and fix the moisture source, seal off the work area under negative air pressure, remove mold-damaged porous materials, HEPA-vacuum and damp-wipe everything that stays, dry the structure, and verify the area is clean before anything is rebuilt. The goal is to physically remove the mold, not just kill it in place, because the EPA notes that dead mold can still cause allergic reactions.
If you are comparing bids for mold removal and remediation, knowing the steps helps you tell a thorough plan from a spray-and-go job. What follows is the sequence a proper remediation follows, drawn from the EPA's Mold Remediation in Schools and Commercial Buildings guide and the industry's ANSI/IICRC S520 standard for professional mold remediation, with notes on what it looks like inside a typical Daly City house or condo.
The mold remediation process at a glance
- Inspection and moisture mapping to find the water source and the full extent of growth.
- Testing, only when it will change a decision.
- Containment with plastic sheeting and negative air pressure.
- Protective equipment for everyone working inside the containment.
- HEPA air filtration running throughout the work.
- Removal of mold-damaged porous materials; cleaning of non-porous and semi-porous ones.
- HEPA vacuuming and damp wiping of every surface in the work area.
- Antimicrobial or encapsulant application where appropriate.
- Drying the structure to verified moisture readings.
- Clearance, also called post-remediation verification.
- Rebuild: drywall, insulation, flooring, and paint.
Step 1: Inspection and finding the moisture source
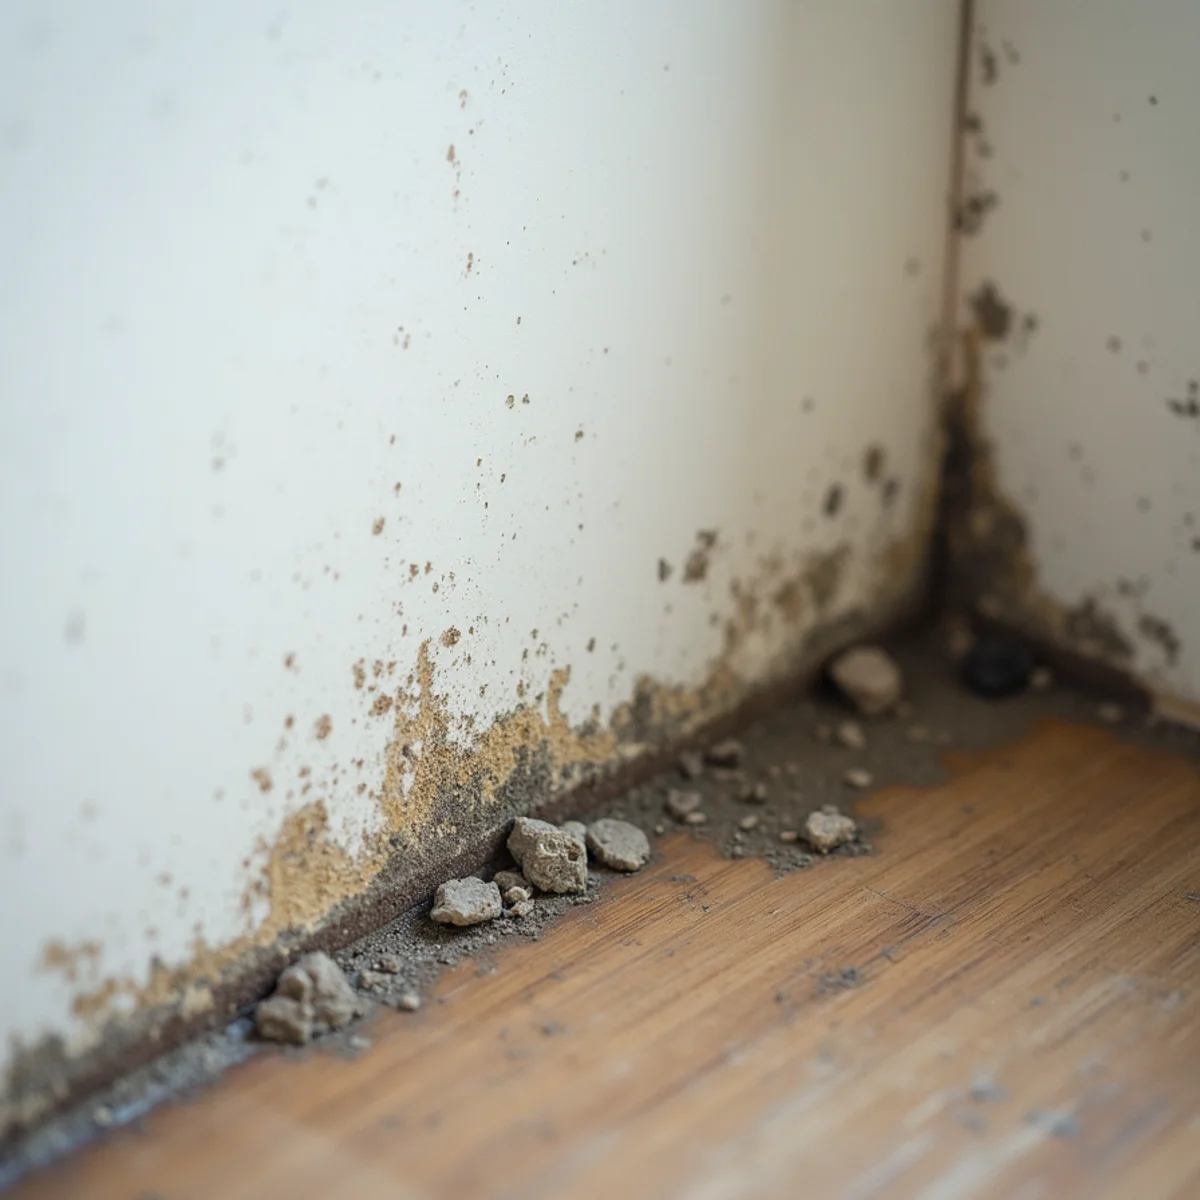
Every mold problem is a water problem first. The EPA puts it simply: if you do not address the source of the moisture, the mold problem may simply reappear. So the job starts with a moisture meter and a thermal-imaging camera, mapping how far water has spread through drywall, framing, and subfloor, not just where the visible growth is. In this area the usual sources are a pinhole leak in original galvanized supply pipe in a 1950s Doelger home, a failed shower pan or wax ring, wind-driven rain getting in around windows or stucco, condensation on cold exterior walls, or a damp crawl space. Growth on the surface is typically a fraction of what is going on behind it.
The plumbing or envelope repair has to happen before or alongside remediation. Removing mold from a wall that is still getting wet only resets the clock.
Step 2: Testing, when it helps and when it does not
According to the EPA, if visible mold growth is present, sampling is usually unnecessary: it has to come out regardless of the species. Testing earns its place when growth is suspected but hidden (a strong musty smell with no visible source), when someone in the household has health concerns, when there is a dispute or claim to document, or at the end of the job to confirm the area is clean. A mold inspection with testing is most useful as a tool for answering a specific question, not as a routine first step. If you are not even sure what you are looking at, our guide to mold vs. mildew helps sort surface mildew from growth that needs remediation.
Step 3: Containment
Cutting out moldy drywall releases a lot of spores and dust, so the work area gets sealed off from the rest of the house. That usually means 6-mil polyethylene sheeting taped from floor to ceiling, a zippered entry door, and HVAC supply and return vents in the area sealed so the system cannot carry spores to other rooms. A negative air machine, essentially a fan with a HEPA filter, then pulls air out of the contained space and exhausts it outside, keeping the work area at slightly lower pressure than the rest of the home. Any air leaking through a gap flows into the containment, not out of it.
The scale of containment depends on the size of the job. In its remediation guidance, the EPA describes limited containment for areas of roughly 10 to 100 square feet and full containment, with an airlock-style entry, for areas larger than 100 square feet or where occupants are likely to be exposed. A small patch under a sink may need only a localized enclosure; a wall cavity running the length of a hallway gets the full setup.
Step 4: Protective equipment
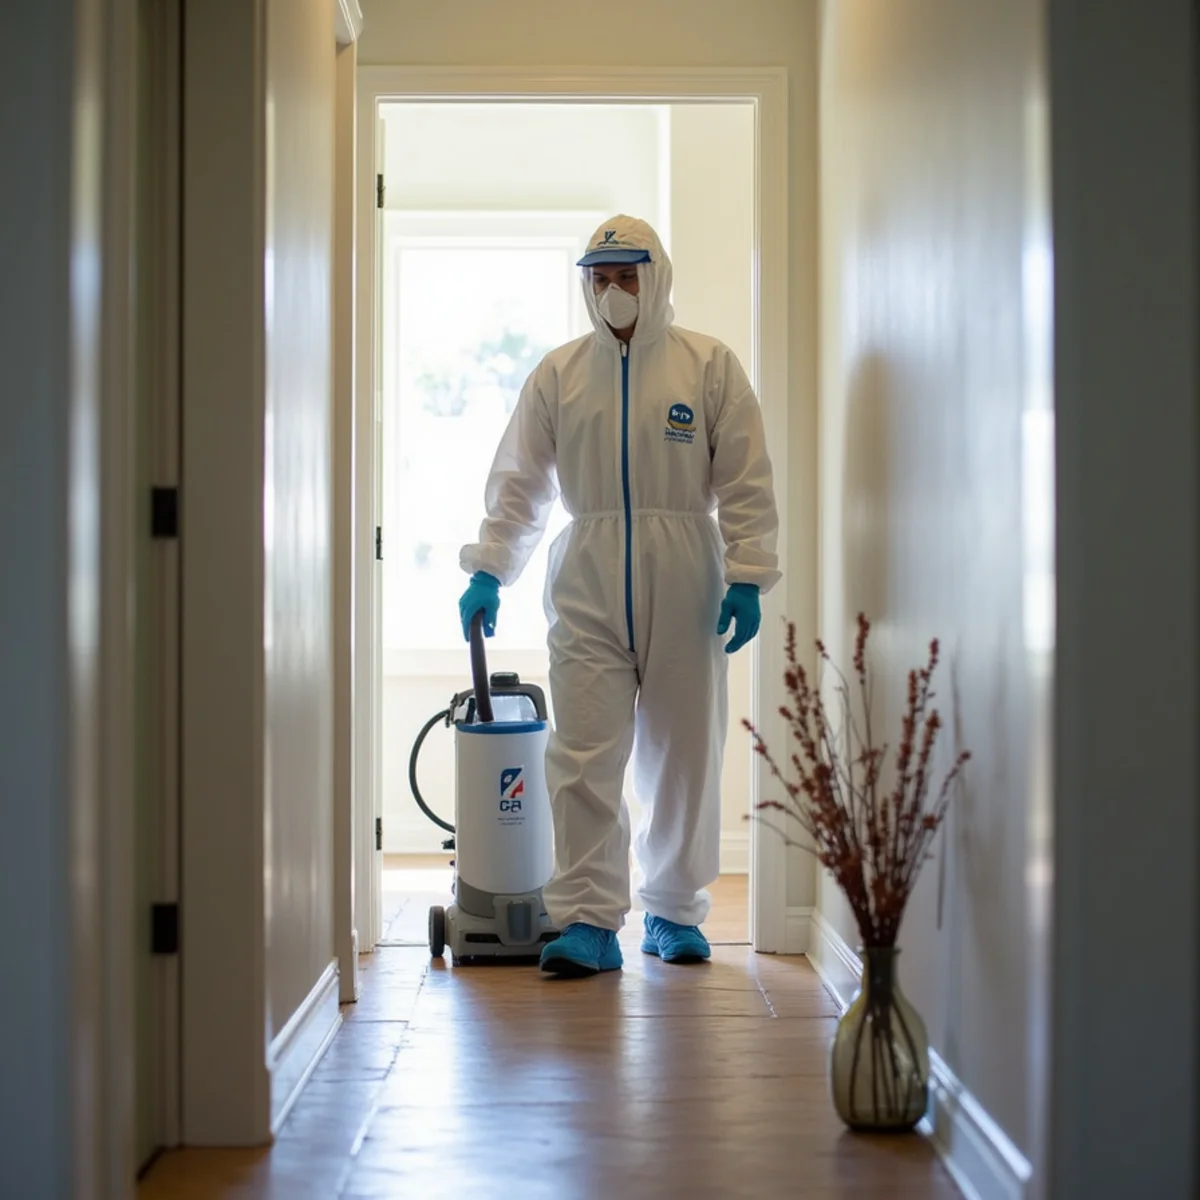
For small jobs the EPA's minimum is an N-95 respirator, gloves, and eye protection, with more protection as the area grows. On a typical containment job, technicians wear half-face or full-face respirators with particulate filters, disposable coveralls with hoods, gloves, and shoe covers, and they suit up and remove that gear at the containment entry. That is also why homeowners, kids, and pets should stay out of the work area entirely while it is active.
Step 5: HEPA air filtration during the work
Separate from the negative air machine, HEPA air scrubbers often run inside the containment to capture airborne spores and dust as materials come out. They run continuously while demolition and cleaning are underway and keep running through drying, which helps bring airborne particle levels down before clearance.
Step 6: Removing porous materials vs. cleaning non-porous ones
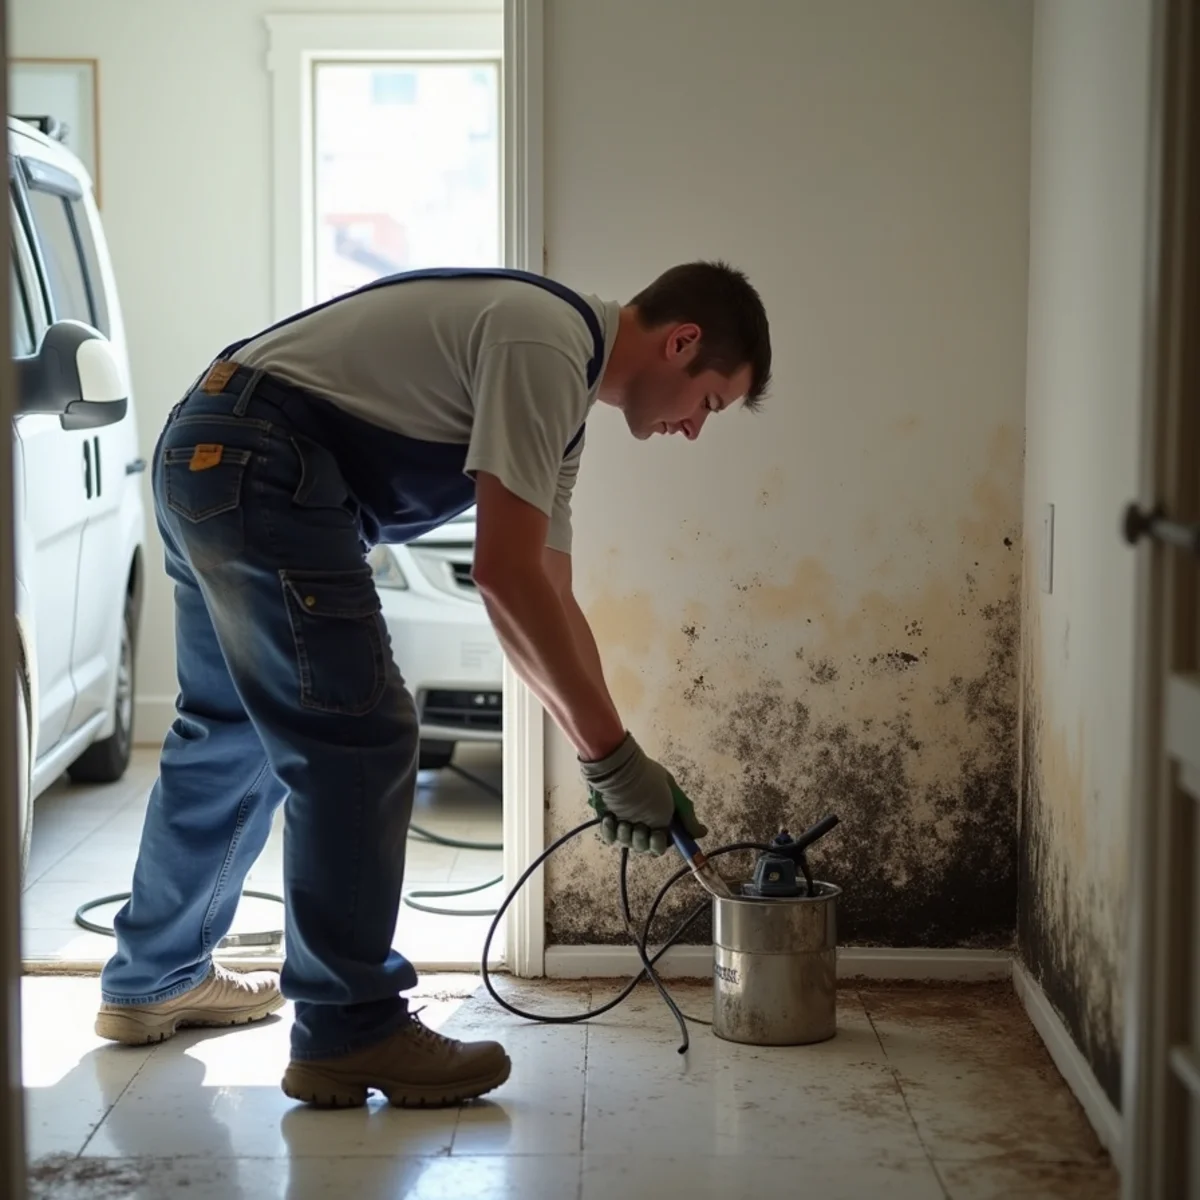
This is the heart of remediation. Mold growing into a porous material cannot be reliably cleaned out of it, so that material is removed, bagged, and discarded. Hard and semi-porous materials that are still structurally sound are cleaned instead.
| Material | Typical approach |
|---|---|
| Drywall and plaster with growth | Cut out, usually extending past the visible edge to sound material |
| Wall and ceiling insulation | Removed and replaced |
| Carpet and carpet pad | Usually removed if moldy; the EPA notes absorbent materials may need to be thrown away |
| Ceiling tiles | Removed and replaced |
| Wood framing and subfloor | Cleaned by HEPA sanding or wire brushing if structurally sound; replaced if soft or rotted |
| Particleboard and MDF cabinet bases | Often replaced, since they swell and hold moisture |
| Tile, glass, metal, sealed concrete | HEPA-vacuumed and damp-wiped with detergent solution |
| Belongings and soft contents | Evaluated item by item; some can be cleaned, some cannot |
Removed debris goes into heavy plastic bags inside the containment, and the bags are sealed and wiped down before they are carried out, so nothing drags spores through the house on the way to the truck.
Step 7: HEPA vacuuming and damp wiping
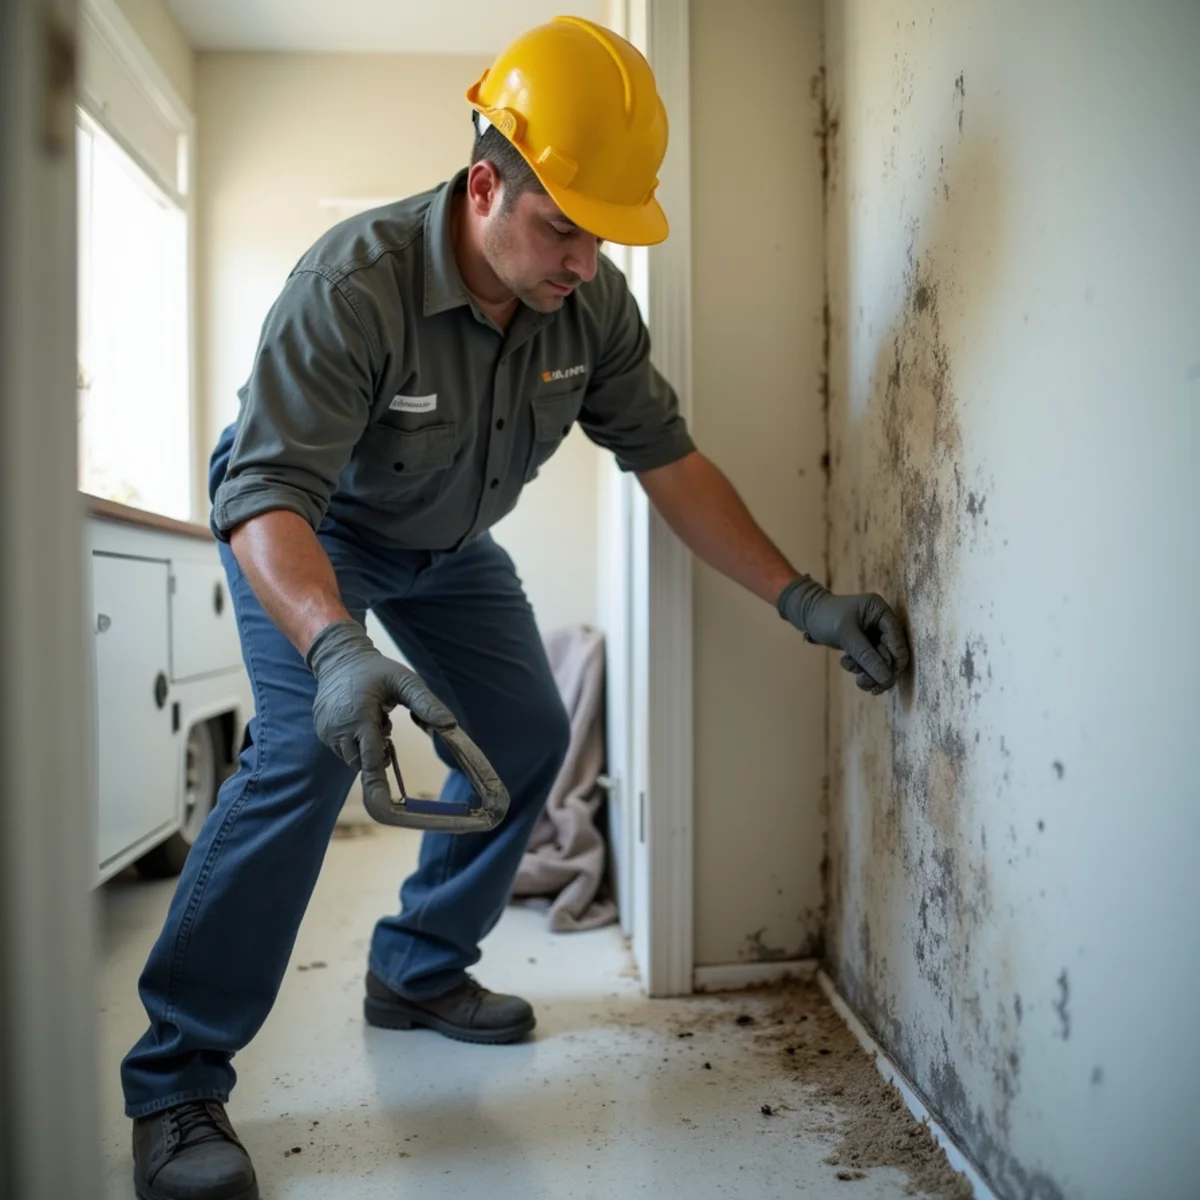
Once the damaged materials are out, every surface in the containment, including exposed framing, the subfloor, the plastic itself, and any remaining fixtures, is HEPA-vacuumed and then damp-wiped with a detergent solution. The EPA recommends HEPA vacuums for final cleanup after materials have been dried and contaminated materials removed. Many crews do this in more than one pass: vacuum, wipe, let dry, vacuum again. This is the unglamorous part of the job, and it is the step that actually lowers spore levels.
Step 8: Antimicrobials and encapsulants, and what they are not
After cleaning, a remediator may apply an antimicrobial to cleaned framing, and sometimes an encapsulant, a mold-resistant coating, to framing that was cleaned but still shows staining. These have a place as a finishing step. They are not a substitute for removal. The EPA states that using a biocide is not recommended as a routine practice during mold remediation, and spraying or fogging over growth without removing it leaves dead mold, which is still allergenic, in place. If a bid consists mostly of spraying and fogging with little or no material removal, ask why.
Why bleach alone does not fix a mold problem
The bleach bottle is the first thing most people reach for, and it is one of the most persistent myths in mold cleanup. Bleach can whiten growth on a hard, non-porous surface, but on drywall, wood, or grout the color disappears while growth in the material remains. Household bleach is mostly water, so soaking a porous material adds the moisture mold needs. It also gives off fumes that irritate eyes and lungs, and it must never be mixed with ammonia-based cleaners. Most importantly, bleaching does not address the dead or living growth left in place or the leak that caused it. Spraying bleach on a wall before a professional arrives can also hide how far the growth extends, which makes the inspection harder.
Step 9: Drying the structure
Before anything is closed back up, the remaining framing and subfloor have to be dry. Dehumidifiers and air movers run inside the containment, and moisture readings are taken against dry reference materials elsewhere in the house until they match. In fog-belt homes where ambient humidity stays high, this can take longer than people expect, which is why structural drying with dehumidification, not open windows, is part of the plan. Closing a wall over damp studs invites the same problem back.
Step 10: Clearance and post-remediation verification
Containment stays up until the area passes inspection. The EPA lists the signs that remediation is complete: the moisture problem is fixed, visible mold and moldy odors are gone, the area shows no signs of water damage or growth on a later visit, and occupants can use the space without health complaints. In practice, verification usually includes a visual inspection of the cleaned surfaces, moisture readings, and, when the job calls for it, air or surface sampling. Some homeowners and insurers prefer that sampling be done by an independent assessor rather than the company that did the work, and it is a fair thing to ask about.
Step 11: Rebuild
Once the area clears, the plastic comes down and the room is put back together: new insulation, drywall, texture, paint, baseboard, cabinets, and flooring. Having the same company handle reconstruction avoids a gap where a cleared room sits open for weeks waiting for a separate contractor.
How long does mold remediation take?
A small, contained job such as a section of wall under a bathroom sink can often be done in a day or two of active work, while jobs that involve several rooms, a crawl space, or an attic run longer. Drying time and rebuild are separate and add to the total. The main variables are:
- The size of the affected area and how many rooms or wall cavities it reaches.
- Access: a closet wall is quicker than a crawl space or the ceiling cavity under a second-floor bathroom.
- How long the source repair takes, since remediation should not finish before the leak is fixed.
- How wet the framing still is and how quickly it dries in the local humidity.
- Whether clearance sampling is used and how long results take.
- The scope of rebuild and material availability.
Cost follows the same factors. Our breakdown of mold remediation cost factors in Daly City explains what drives the scope of a job without guessing at a number before anyone has seen the space.
What homeowners should do before and during remediation
- Do not disturb, scrape, or sand the growth yourself, and do not spray it with bleach before it is inspected.
- Turn off the HVAC if you think it may be contaminated; the EPA advises against running a system you suspect has mold in it.
- Photograph the growth, any water stains, and the source for your records and any insurance claim.
- Check your homeowners policy for mold limits or exclusions, and note when the water problem started.
- Move belongings, pets, and anyone with asthma or allergies away from the work area for the duration.
- Ask for a written scope that lists what will be removed, how the area will be contained, and how clearance will be determined.
- Keep the containment closed. Do not unzip it to check progress.
Red flags when comparing mold remediation companies
- No mention of the moisture source. If nobody is asking where the water came from, the mold will be back.
- A plan built on fogging or spraying, with little or no removal of damaged materials.
- No containment or negative air for a job involving demolition of moldy drywall.
- Scare language about "toxic black mold." The EPA notes that black mold is not a species, and color does not determine risk. Dark growth gets the same careful removal as any other. Our black mold removal page explains how we handle it.
- No clear answer about how the job is judged complete before walls are closed up.
- Pressure to sign immediately, or a quote given without anyone measuring moisture.
If you have found mold after a leak, or a musty room that will not clear, call Water Damage Daly City at (201) 277-9344 for a free inspection. We will find the moisture source, show you the readings, and walk you through a written plan for containment, removal, drying, and clearance before any work begins. We bill insurance directly when the loss is covered and handle the rebuild in-house.
Frequently asked questions
In most cases, yes. Containment and negative air pressure are designed to keep the rest of the home usable while one area is being worked on. You will lose access to the contained room and may hear equipment running around the clock. People with asthma, mold allergies, or weakened immune systems, along with infants, may be better off staying elsewhere during demolition, and a large job affecting the main living areas or the HVAC system can make staying away more practical. Ask your remediator before work starts.
It depends on what caused the mold and on your policy. Many California policies cover mold resulting from a sudden, covered water loss, such as a burst supply line, though often with a separate sub-limit. Mold from long-term humidity, condensation, or a slow leak that went unrepaired is commonly excluded as a maintenance issue. Read the mold and fungi section of your policy, report the water damage promptly, and keep photos and moisture readings. A remediation company that documents the source and scope helps the adjuster reach a decision.
Not if the moisture source is fixed and the structure was dried before it was closed up. Mold spores are always present in indoor air, so remediation cannot make a home spore-free; it removes the growth and returns spore levels to normal. Regrowth almost always traces back to moisture that was not resolved: a leak that was patched but not fixed, condensation on a cold wall, or a crawl space that stays damp. Keeping indoor humidity within the EPA's recommended range and running bath fans are the best long-term protections.
ANSI/IICRC S520 is the industry's standard for professional mold remediation, published by the Institute of Inspection, Cleaning and Restoration Certification. It sets out procedures for assessing contamination, containment, protective equipment, removal and cleaning, drying, and verifying that the work is complete. It is a reference standard rather than a law, but it reflects accepted practice, and asking a contractor whether their process follows it is a reasonable way to check that they are working from a recognized framework rather than improvising.