Knowing what happens next lowers the stress. Here’s the full restoration process, step by step, the way we run it.
Water damage restoration follows six steps: inspection and water classification, extraction of the standing water, drying and dehumidification to a verified moisture standard, cleaning and sanitizing, repairs and reconstruction, and a final walkthrough. Each phase has a specific job, and knowing the sequence ahead of time turns a chaotic-feeling emergency into a process you can actually follow.
When water floods a room, the fear isn't only the mess in front of you — it's not knowing what happens next. How long will strangers be in your house? What are all those loud machines doing? When can you stop worrying about mold? The unknown is half the stress. Every job is different, but a professional water damage restoration moves along the same logical path — grounded in the IICRC S500 standard the industry works to — from the first phone call to the final walkthrough. Here's exactly how it goes, and what each phase is actually accomplishing.
Step 1 — The Call and the Inspection
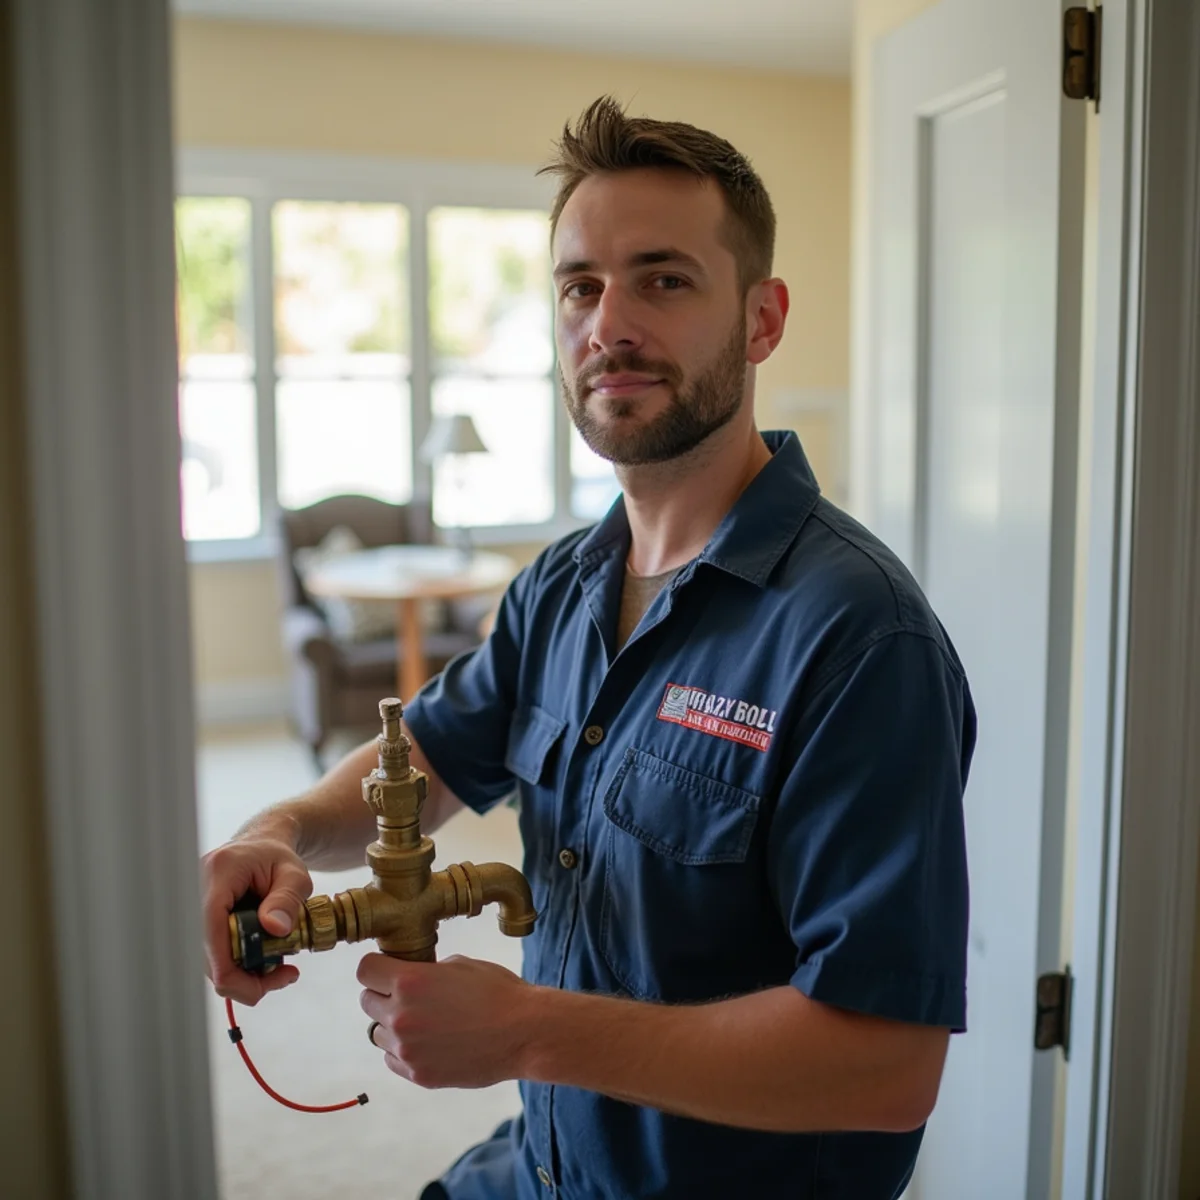
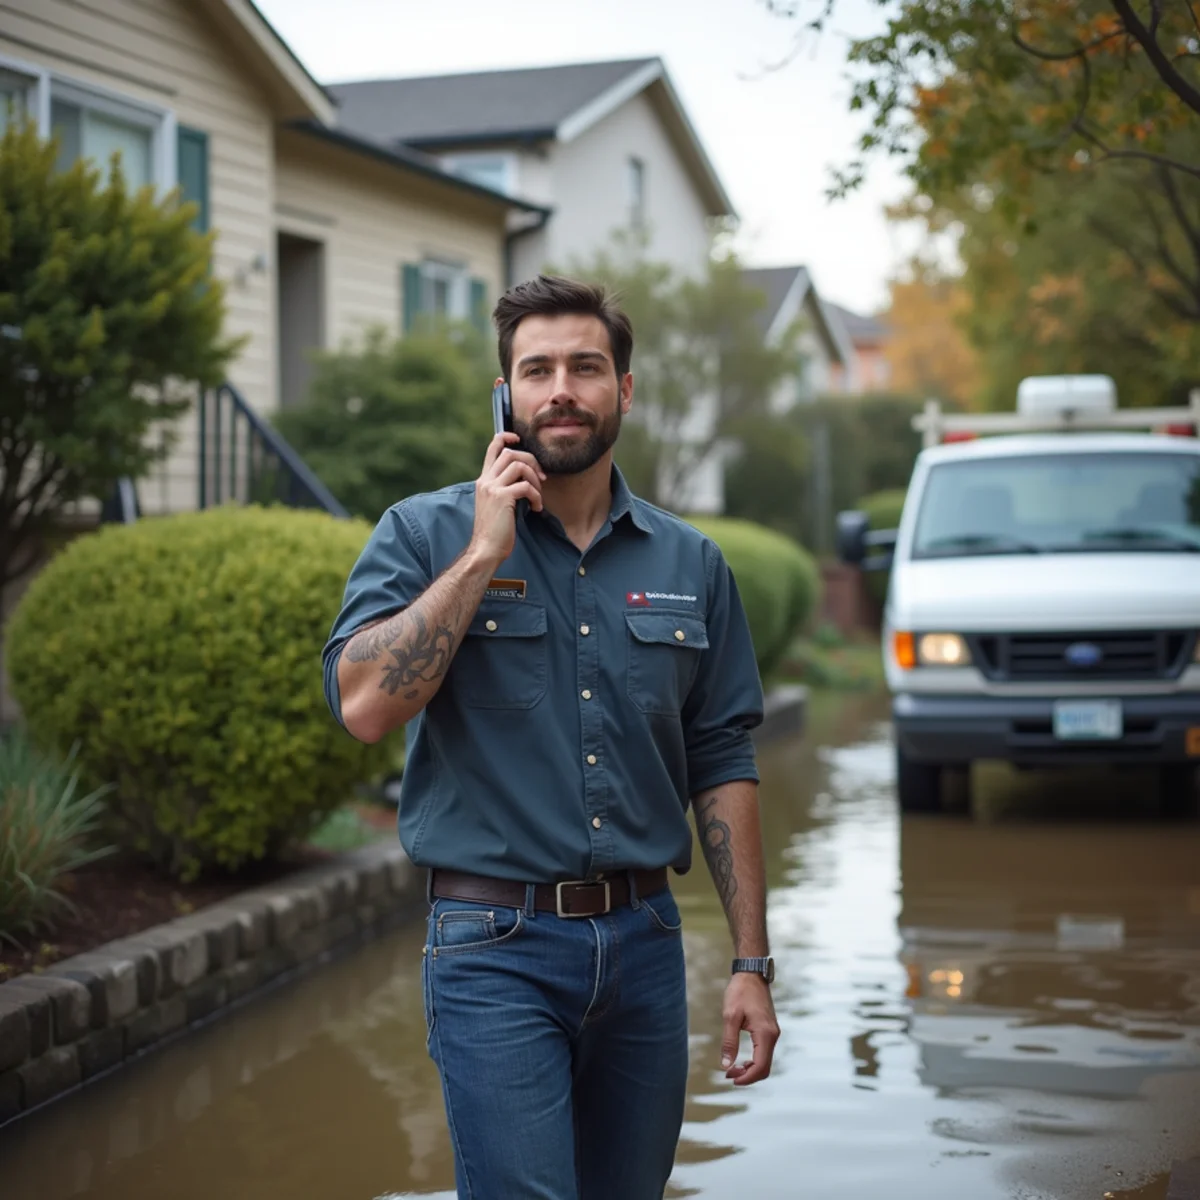
It starts when you call. A good restoration company answers live, any hour, and gets a crew moving while asking the questions that keep everyone safe: where's the water coming from, is the power off, is anyone at risk, and can you reach the shut-off. On-site, the first job is inspection and assessment. Technicians trace the source, classify the water — Category 1 clean, Category 2 gray, or Category 3 black — and determine the class of loss, which is the S500 measure of how much water is present and how hard it will be to evaporate. Then they map how far it has traveled using penetrating and non-penetrating moisture meters and a thermal-imaging camera that reveals the cool signature of wet material behind a wall. That reading, invisible to the eye, sets the entire plan, because water wicks up drywall and runs under flooring far past the wet edge you can see.
Step 2 — Water Extraction
Nothing dries until the standing water is gone, so extraction comes first. Truck-mounted extractors and submersible pumps pull out the bulk of the water fast, because every gallon removed now is a gallon that isn't soaking deeper into your subfloor and wicking up your baseboards. Extraction is the step that pays off most in the whole job: removing water as a liquid is dramatically faster than evaporating it later, so fast water extraction is the single biggest factor in how much of your home gets saved rather than replaced. Crews also lift and dispose of saturated carpet pad, which almost never dries in place, and pull out any material too far gone to recover.
Step 3 — Drying and Dehumidification
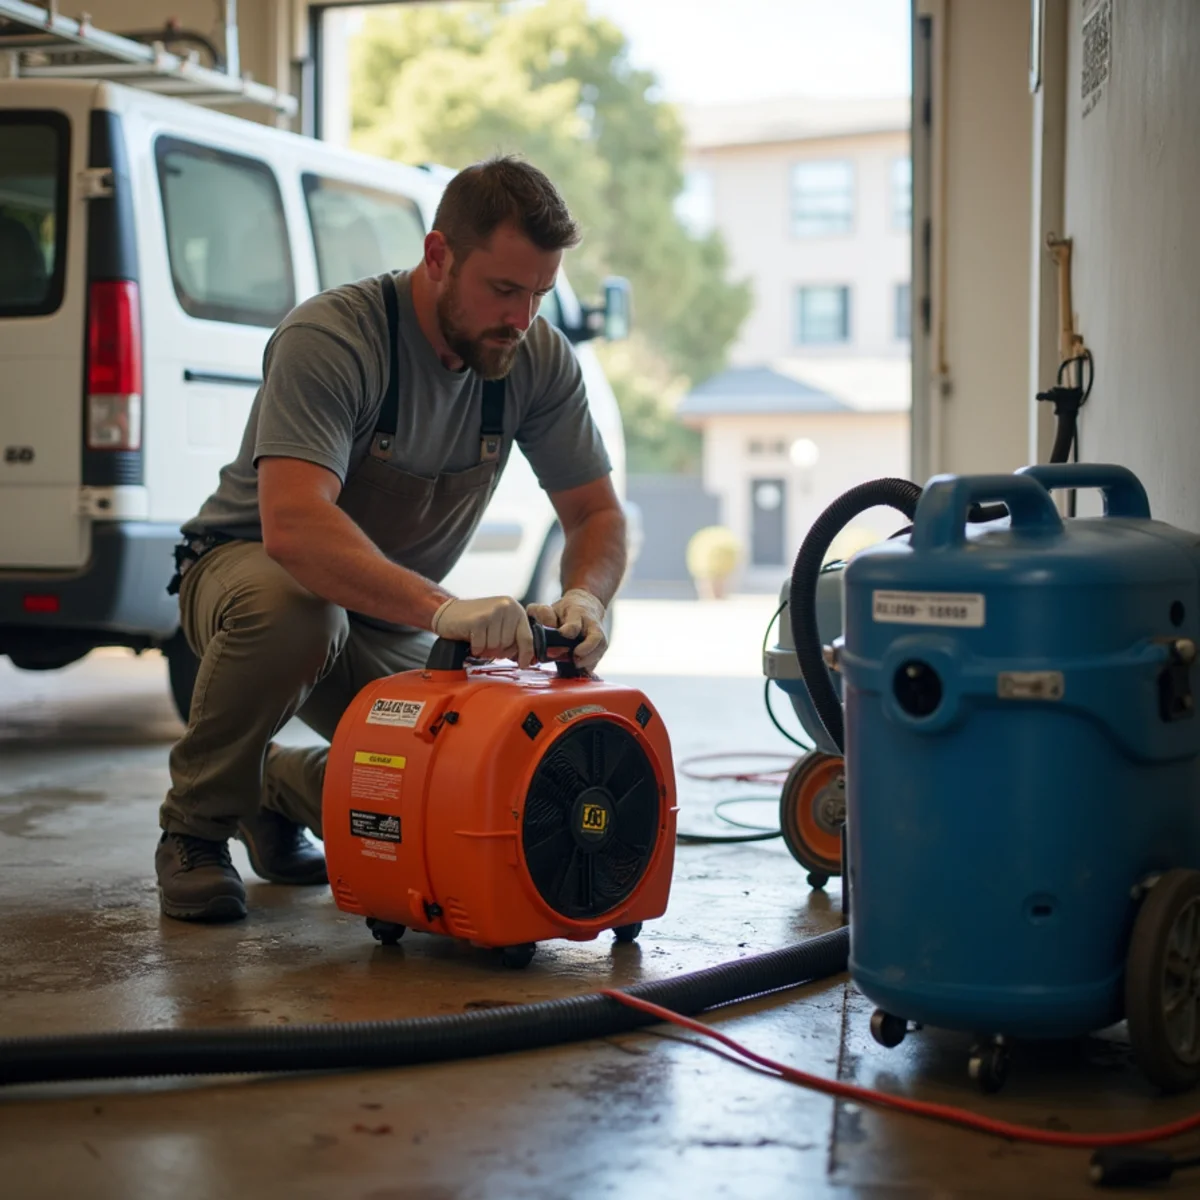
This phase surprises people, because the room looks dry long before it is. Water hides inside drywall, framing, insulation, and subfloor, and it has to be coaxed back out into the air and then carried away. Technicians set axial and centrifugal air movers to sweep a fast layer of dry air across wet surfaces so moisture evaporates, and LGR (low-grain refrigerant) dehumidifiers to strip that moisture out of the air and drain it off — the two working as a system, not in isolation. In Daly City's damp, foggy climate, controlling the indoor humidity matters even more, because the marine layer won't do the drying for you the way dry inland air might; the dehumidifier has to win against the fog outside. Crews return to take moisture readings, usually daily, comparing wet materials against a dry reference elsewhere in the home, and adjust the equipment until the structure reaches a dry standard — a target moisture content, not just a dry feel. This is the heart of professional structural drying, and it's the step careless operators cut short.
What the Equipment Actually Does
Those machines aren't random, and their number and placement come from the class of loss and the square footage, not from guesswork. Each has a specific job:
- Air movers push high-velocity air across wet surfaces so trapped moisture evaporates faster; spacing and angle matter, which is why crews reposition them as materials dry.
- LGR (low-grain refrigerant) dehumidifiers pull that evaporated water out of the air and drain it away, and they keep working in humidity where a standard refrigerant unit would stall.
- HEPA air scrubbers and, on contaminated jobs, negative-air machines filter airborne particles and control odor while drying runs.
- Moisture meters and thermal cameras verify progress you can't see, so drying ends on documented data, not on someone's hand and a hunch.
The hum is the sound of your walls being saved. It's worth the few days of noise — and running the equipment continuously, rather than switching it off overnight, is what keeps the drying on schedule.
Step 4 — Cleaning and Sanitizing
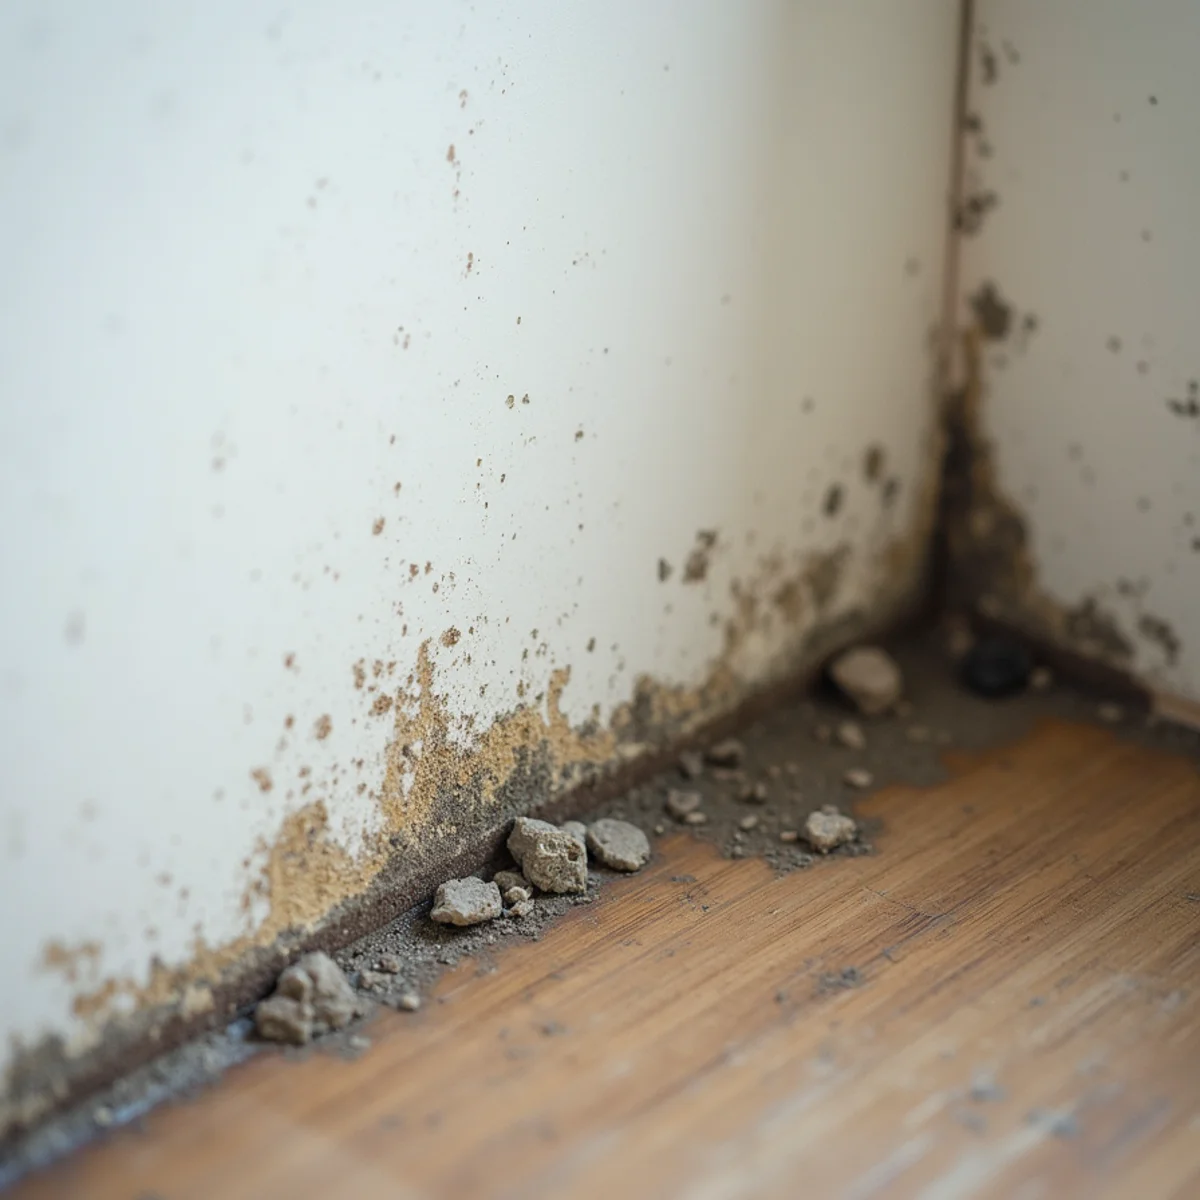
Once things are dry, surfaces and salvageable belongings are cleaned, sanitized, and deodorized. How aggressive this step is depends on the water category. Clean Category 1 water needs a basic clean; gray Category 2 and black Category 3 water call for EPA-registered antimicrobial treatment to knock down bacteria and discourage mold, and any porous material contaminated by black water is removed rather than cleaned. This is also where a good crew addresses odor at the source — using HEPA filtration and targeted deodorizing to pull particles out of the air — rather than masking a smell that will come back the moment the fragrance fades.
Step 5 — Repairs and Reconstruction
With the structure dry and clean, the rebuild brings your home back to pre-loss condition. Depending on the damage, that ranges from patching a section of drywall, re-texturing, and repainting to rebuilding cabinets, replacing baseboard and flooring, and re-trimming a room. It's worth knowing that some materials rarely come back — MDF cabinet bases swell and crumble, particleboard shelving delaminates, and saturated carpet pad is replaced as a rule — so part of this step is an honest call on salvageable versus not. Because one company handles both the drying and the reconstruction, there's no gap where you're chasing a separate contractor while your house sits half open and half finished.
Step 6 — The Final Walkthrough
The job isn't done until you say it is. A final walkthrough confirms the work is complete, the moisture is gone, and the repairs meet your expectations. A reputable company backs this with a written workmanship guarantee and a clean documentation package for your insurer — the moisture logs, photos, category and class determination, and scope that support the claim. We serve homes and businesses across the Peninsula, from South San Francisco to Burlingame, and the process is the same careful sequence every time.
How Long Does It Take?
In general terms, extraction happens the day we arrive, drying commonly runs a few days while the equipment works the structure down to its dry standard, and reconstruction depends entirely on how much has to be rebuilt. A small clean-water loss caught early can wrap up quickly; a large or contaminated loss with heavy demolition and reconstruction takes longer, and material lead times can add days at the rebuild stage. What we won't do is promise the structure is dry before the meters say so — anyone who quotes an exact drying timeline before seeing the readings is guessing, and rushing the equipment out early is how a job comes back as a mold job.
You don't have to understand every machine to trust the process — you just need a crew that explains what it's doing and proves the drying with real numbers. That's how we run every job. If you're staring at a water loss right now and want to know what your restoration will actually involve, call Water Damage Daly City at (201) 277-9344 for a free, no-obligation inspection, and we'll walk you through the plan for your home before any equipment goes in.
Frequently asked questions
As fast as possible — ideally within hours. Mold can begin growing in a day or two under the right conditions, and every hour water sits, it wicks deeper into drywall, framing, and subfloor. Starting extraction and drying quickly is often the difference between drying materials in place and tearing them out, which changes both the cost and how long you're displaced. That's why we answer live around the clock and aim to be on-site quickly, so the drying clock starts before the mold clock gets a head start.
Because the structure is still wet even when it looks and feels dry. The visible surface dries first while the core of the drywall, the framing, and the subfloor hold moisture you can't see. Turning off air movers and dehumidifiers early — even overnight — lets that trapped moisture re-migrate to the surface, stalling progress and giving mold the damp it needs. The equipment runs continuously until moisture meters confirm the structure has reached its dry standard against a reference, not just until the room feels comfortable.
Often yes, though it depends on the size of the loss, the water category, and which rooms are affected. The equipment is noisy and runs day and night, some areas may be sealed off during drying, and reconstruction adds dust and disruption. For contaminated Category 3 losses, jobs affecting a kitchen or the only bathroom, or large-footprint losses, temporary relocation is sometimes safer and more comfortable. We'll tell you honestly what to expect for your specific situation rather than leave you to find out mid-job.
Yes. We take the job from emergency extraction through drying, cleaning, and full reconstruction back to pre-loss condition, so you're not handing off between a mitigation company and a separate contractor and losing time in the gap. One team means one point of accountability, one schedule, and one written guarantee. We can also bill your insurance directly and provide the documentation — readings, photos, and scope — that your adjuster needs to move the claim.